Adding Texture with Bun-a-latte with Natalie
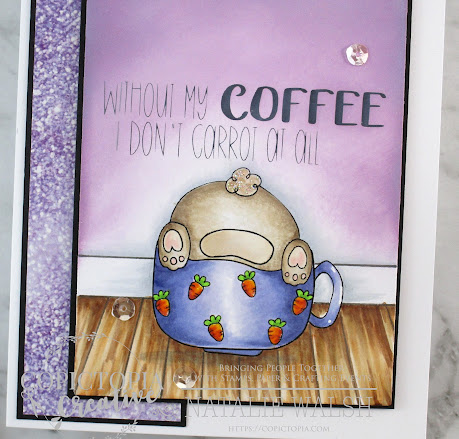
Hello All, It's Natalie here today to give you some inspiration. I am using the sweet Bun-a-Latte set today. I don't drink coffee but he is soo cute.
I wanted a simple design with the added element with the partial scene. I need to "ground" my projects it is just a 'me' thing. He got the wood flooring and, what we call in Australia, a skirting board. I don't know if that is a different name elsewhere in the world.
The bunnies bottom has a little texture added with rubbing alcohol dabbed on with a cloth but you need to do this before you colour anything that you don't want texture to. Leave it to dry for a tiny bit and keep dabbing it on until you are happy with the texture. Once dry colour the rest of your image.
I also only used one layer of Copic colouring instead of the usually two, making it lighter again.
A little bit of stardust stickles on his tail because.. why not
Copic Colouring
Mat: 1 11/16 x 5 5/8
Like my Card? Here are links to the supplies:
Mermaid Dreams 6 x 6 Paper (will be released in May 2024)
Bun-a-latte Clear Stamp Set - Copictopia Creative
REGISTER FOR 2024 NORTH CAROLINA CRAFTING RETREAT TODAY! SPACE IS LIMITED!
Thank you for joining and spending some of your time with us. Be sure to watch for more inspiration during the month!
Take Care
Natalie


).png)
Comments
Post a Comment
Thank you so much for your kind comments!